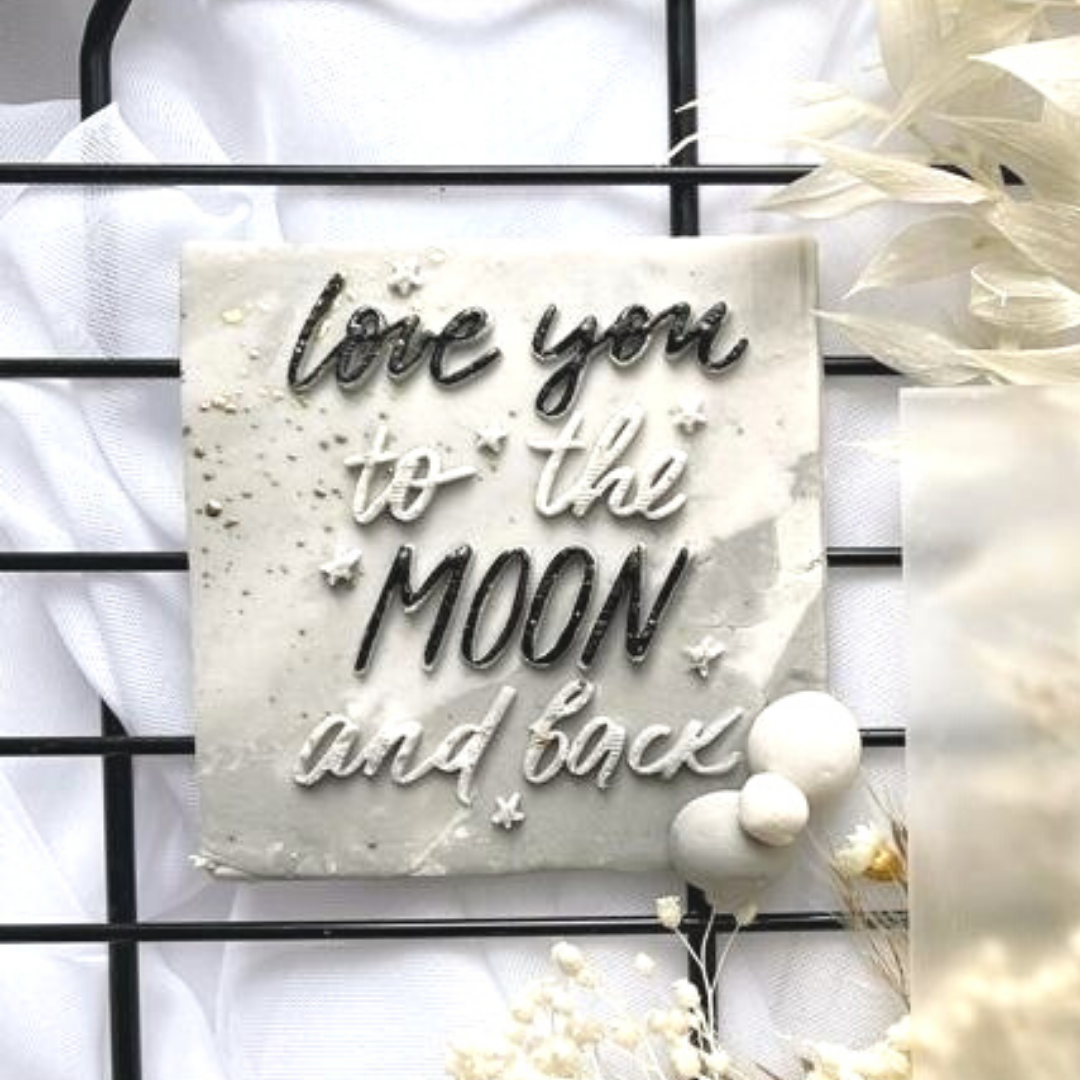
Love You To The Moon And Back - Reverse Stamp
How do reverse stamps work?
1.) Roll out your fondant icing slightly thicker than normal (because we will be compressing it slightly during the process).
2.) Dust the top of your fondant and the embosser stamp with icing sugar - this will prevent the stamp from sticking to your fondant icing.
3.) Locate where you want the design to go and place the stamp on top with the engraved side face down (you can also do this the opposite way by placing the fondant icing on top of the stamp, we find this gives a slightly deeper impression).
4.) Using a rolling pin, roll over the top of the stamp applying gentle and even pressure so that the fondant can work its way into the raised part of the design. Do this over 4-5 passes focussing on the area which will be raised.
5.) Using the handy tab at the top, gently pull the stamp away to reveal the design.
6.) Use a soft brush to remove any excess icing sugar from the fondant and smooth any imperfections using the tip of your finger in a circular motion to smooth out your fondant.
7.) Finally, use your cookie cutter to cut around the design in your desired shape (we recommend cutters 7cm in diameter or larger).
How to look after and store your Sugar Stamp:
All our reverse stamps are made using high quality food-grade acrylic but to make sure you get the most from your Sugar Stamp it's important to take good care of it. We recommend you wash it using warm water and soap after each use.
Please note: We recommend washing your reverse stamp before first use to remove any unwanted dust particles left behind during production.
Dimensions
Our reverse stamps are produced on 8cm x8cm (80mm/3.14 inches) acrylic squares with a depth of 3mm. The design itself is kept inside a 6cm radius (apart from texture stamps and other cut & stamp sets). This is so you can easily cut out your design using various shaped cutters whilst keeping extra smooth edges!
Choose options

